How to run a DHCP server on your Windows desktop

There are instances, where we need to run a DHCP server on our workstation. Specially when we happen to work in either isolated networks and internet restricted networks. In order to achieve this there is a cool utility and this is portable, so no need to install the application on the workstation.

You can get the utility from here
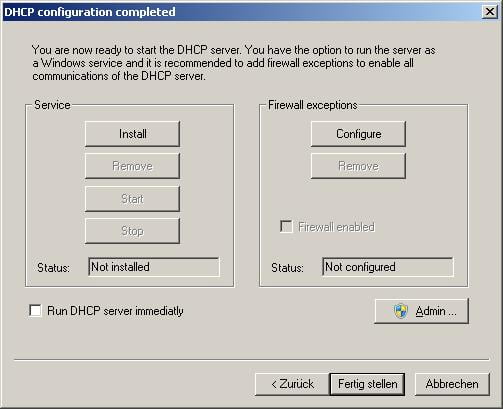
Then, you can simply run the configuration wizard – so that you can assign the IP addresses and utilize the relevant NIC (if the system is having multiple NICs). Once you are done with the configuration wizard, simply you can run the DHCP server. If you need the step by step guide, you may follow the vendor documentation

NOTE: always use the Run as administrator, when working with the executable

IIS Default Web site not working – Others work

On Windows systems there are tmes where the Default web site is not browing (even not starting), but rest of the sites are working fine.

When you try to start the Default web site, you may end up with an error code: (Exception from HRESULT:0x800704BE)

This is due to incorrect configuration of the localhost listener under the TCP/IP stack.

So to fix the issue, you simply have to follow the below steps;

Step 01 – Get current listener IP

netsh http show iplisten

If the above value is a NULL value, you may add the localhost and the required IP addresses accordinly. If a wrong IP address is showing, you may delete the value as below.

Step 02 – Deleting the in correct IP

netsh http delete iplisten ipaddress=IP ADDRESS

Step 03 – Adding the localhost and related IP addresses

netsh http add iplisten 127.0.0.1

Step 04 – Adding all the IPs to IP listener

netsh http add iplisten ipaddress=0.0.0.0

Step 05 – Restarting the IIS service