How to run a DHCP server on your Windows desktop

There are instances, where we need to run a DHCP server on our workstation. Specially when we happen to work in either isolated networks and internet restricted networks. In order to achieve this there is a cool utility and this is portable, so no need to install the application on the workstation.

You can get the utility from here

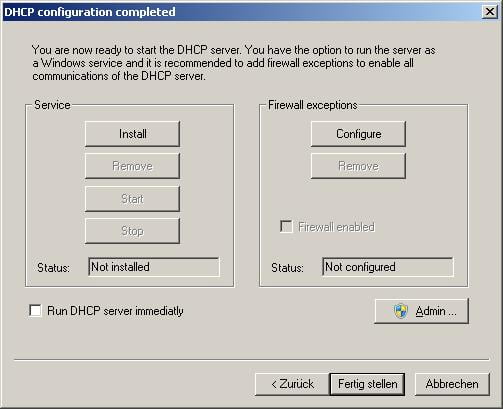
Then, you can simply run the configuration wizard – so that you can assign the IP addresses and utilize the relevant NIC (if the system is having multiple NICs). Once you are done with the configuration wizard, simply you can run the DHCP server. If you need the step by step guide, you may follow the vendor documentation

NOTE: always use the Run as administrator, when working with the executable

VMware Tools SVGA driver fail to install on VM

You will see an error message “Setup failed to install the SVGA driver automatically. This driver will have to be installed manually“.

Even if you try to install the VM tools with Complete or Custom modes, you will end up with the above error. In order to resolve the issues, you can follow below workaround (just 3 simple steps).

Step 01: Try installing the VM tools by deselecting the Video Driver (Custom Installation)

Step 02: Installing the SVGA driver (the manual way). Make a copy of the VM drivers, by accessing the C:\Program Files\Common Files\VMware\Drivers path

Step 03: Manually install the VGA driver using the device manager console.

This should resolve the SVGA driver installation issue.