Configuration rollback is a crucial factor when planning Change Requests (CR/CCR). Cisco devices have a mature approach to this. We already discussed configuration rollback on IOS and IOS XE How to properly rollback configuration changes on Cisco devices Today, we are going to look at Nexus configuration rollback.
Nexus devices use a feature called “checkpoint“. This feature allows us to take system state snapshots. Will see how we can create a snapshot and then perform a change, after that, we can roll back the configuration.
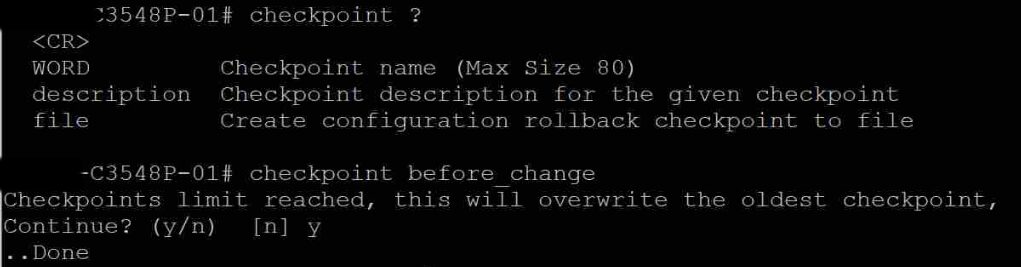
- Creating the checkpoint with a description (checkpoint name and the description are the same [before_change]).
checkpoint before_change description before_change

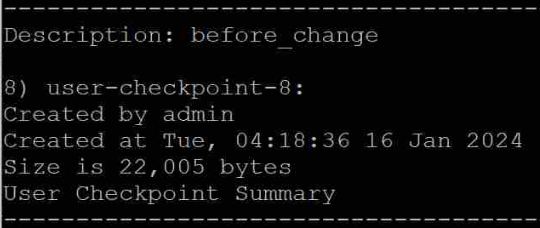
- Then, list the checkpoints and verify whether the newly created checkpoint is active with the command show checkpoint all
If you wish to remove the checkpoints, you may use the command clear checkpoint database
Continue reading “Configuration rollback on Cisco Nexus devices”