Configuration rollback on Cisco Nexus devices

Configuration rollback is a crucial factor when planning Change Requests (CR/CCR). Cisco devices have a mature approach to this. We already discussed configuration rollback on IOS and IOS XE How to properly rollback configuration changes on Cisco devices Today, we are going to look at Nexus configuration rollback. 

Nexus devices use a feature called “checkpoint“. This feature allows us to take system state snapshots. Will see how we can create a snapshot and then perform a change, after that, we can roll back the configuration. 

  • Creating the checkpoint with a description (checkpoint name and the description are the same [before_change]).

checkpoint before_change description before_change

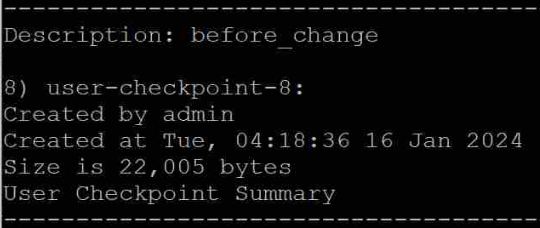
  • Then, list the checkpoints and verify whether the newly created checkpoint is active with the command show checkpoint all

If you wish to remove the checkpoints, you may use the command clear checkpoint database

Continue reading “Configuration rollback on Cisco Nexus devices”

Firepower 2100 series initial configuration with HA setup

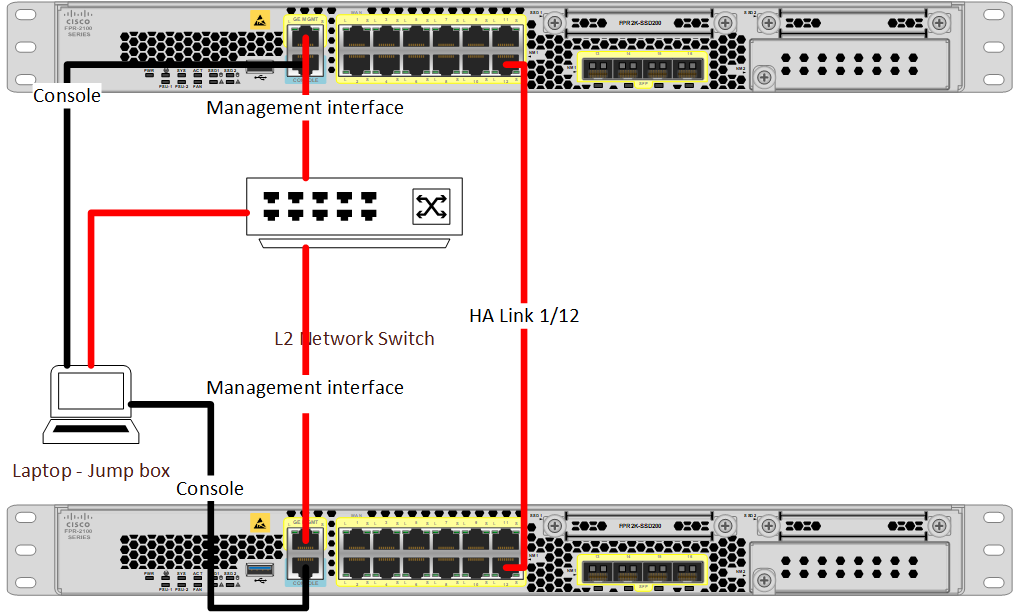
In our example, we will be looking at the initial configuration when setting up the Cisco Firepower 2100 series. As you can see in the below topology, we have used 2 FPR devices connected through the ports 1/12. Also, we have used 2 console connections connected through a basic LAN switch. In this example, the IP assignments are as below.

IP assignments Cisco FPR2100-01 Cisco FPR2100-02
Device management IP 192.168.111.5 192.168.111.6
Subnet 255.255.255.0 255.255.255.0
Default gateway 192.168.111.1 192.168.111.1

  • Make a console connection with the FPR2100 appliances and connect to the FTD module. 

firepower# connect ftd

  • Setting up the FTD management IP address on the first FPR appliance

>configure network ipv4 manual 192.168.111.5 255.255.255.0 192.168.111.1

  • Setting up the FTD management IP address on the second FPR appliance

>configure network ipv4 manual 192.168.111.6 255.255.255.0 192.168.111.1

  • Set the management access type to the local

>configure manager local

  • Then, configure the management access. In this example, we have allowed all

>configure https-access-list 0.0.0.0/0

  • Finally, make sure that you have entered the correct parameters with the below command

>show network