Storage - Chathura Ariyadasa (He/Him/His)

How to disable TLS v1.0 and 1.1 on Nimble storage systems

We all know that TLSv1.0 & 1.1 are no longer recommended and not secure to be used in production environments. Specially, if you are working in a secure environment you will be asked to disable insecure protocols. So, let’s look at the steps. The steps are so simple and straightforward. [Note: all the commands are in Bold Italics]

Step 01: SSH into the Nimble management controller (use the admin account)

Step 02: Check whether TLSv1.0 & 1.1 are enabled using the command

 group – – info | grep -i tlsv

Step 03: If enabled, try to disable those

group – – edit – – tlsv1_enabled 

You may enter either Yes or No based on your requirement. If you type Yes, both TLSv1.0 & 1.1 would be disabled. 

Step 04: Verify whether TLSv1.0 & 1.1 are disabled

 group – – info | grep -i tlsv

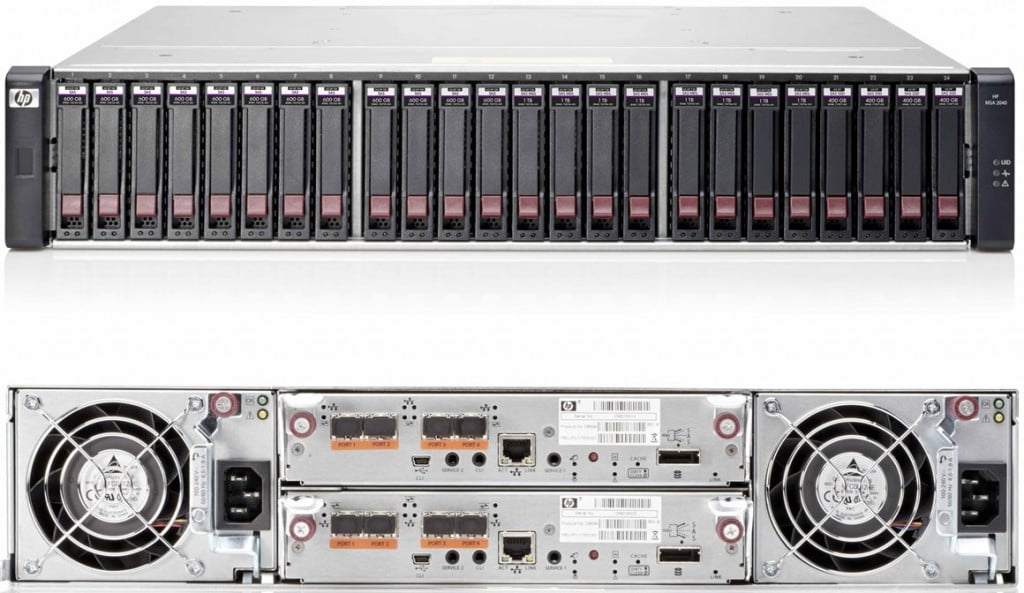
HP MSA 2040 SAN Storage – Connecting to the Network

hp_msa_2040

You can set network port IP addresses manually using the command-line interface port and cable. If you have not done so already, you need to enable your system for using the command-line interface port.

Network ports on controller module A and controller module B are configured with the following factory-default IP settings:

  • Management Port IP Address: 10.0.0.2 (controller A), 10.0.0.3 (controller B)
  • IP Subnet Mask: 255.255.255.0
  • Gateway IP Address: 10.0.0.1

Continue reading “HP MSA 2040 SAN Storage – Connecting to the Network”

  1. From your network administrator, obtain an IP address, subnet mask, and gateway address for controller A, and another for controller B.
  2. Use the provided USB cable to connect controller A to a USB port on a host computer.
  3. Windows customers should locate the downloaded device driver described in Downloading a device driver for Windows computers.
  4. Start and configure a terminal emulator, such as Hyper Terminal or VT-100, using the display settings / connection settings in Table.
Terminal emulation mode VT-100 or ANSI (for color support)
Font Terminal
Translations None
Columns 80
Baud Rate 115,200
Data Bits 8
Parity None
Stop Bits 1
Flow Control None
Parameter Value
  • In the terminal emulator, connect to controller A. Press Enter to display the CLI prompt (#).At the login prompt, enter the default user manage.Enter the default password !manage.
  • At the prompt, type the following command to set the values you obtained in step 1 for each network port, first for controller A and then for controller B:set network-parameters ip address netmask netmask gateway gateway controller a|bFor example:

    # set network-parameters ip 192.168.0.10 netmask 255.255.255.0 gateway 192.168.0.1 controller a

    # set network-parameters ip 192.168.0.11 netmask 255.255.255.0 gateway 192.168.0.1 controller b

  • Type the following command to verify the new IP addresses:show network-parameters
  • Use the ping command to verify network connectivity.For example:# ping 192.168.0.1 (gateway)

    In the host computer’s command window, type the following command to verify connectivity, first for controller A and then for controller B:

    ping controller-IP-address

  • If you cannot access your system for at least three minutes after changing the IP address, your network might require you to restart the Management Controller(s) using the CLI. When you restart a Management Controller, communication with it is temporarily lost until it successfully restarts.Type the following command to restart the management controller on both controllers:restart mc both
  • When you are done using the CLI, exit the emulator.

 [source: HP Documentation]