
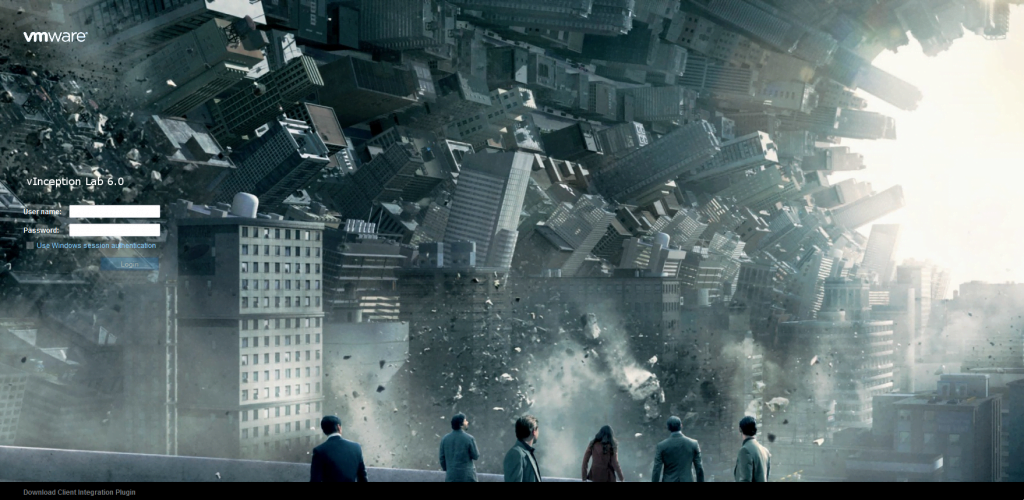
Lets image that you are sick of the default vCenter default login page and want to add your company logo and name into the SSO login page.
It is possible with both Appliance and Windows Based vCenters.
To carry out the task, you will need the below tools & utilities;
Make sure that you use the PNG format although GIF is apparently supported as well. You should also appropriately size images unless you want them to overlap other components on the page.
Adding a custom logo and text
Step 1 – Using putty, log in as root on vCSA, and run the following two commands.
shell
chsh -s /bin/bash root
Step 2 – Using WinSCP, connect to vCSA and copy the logo (PNG file) to the following path.
/usr/lib/vmware-sso/vmware-sts/webapps/websso/resources/img
Step 3 – Switch back to the putty window and run the following commands.
chsh -s /bin/appliancesh root
cd /usr/lib/vmware-sso/vmware-sts/webapps/websso/WEB-INF/views
cp unpentry.jsp unpentry.jsp.org
The first command resets the appliance back to using the default shell. We then switch to the directory of the file controlling the logon page and take a backup of it.
Step 4 – Using the vi editor, we’ll go ahead and edit unpentry.jsp. This allows us to add a custom company logo and text.
vi unpentry.jsp
Type /.png and press Enter. This takes you to the section in the file which governs what images get displayed on the login page. To add customized HTML text to the login page, scroll down to the section starting <div id=”productName”>. Add the text you want to be displayed as shown in the next screenshot. You can include HTML tags such as header size for further effect. Save the file (wq) and exit.
The Login Page CSS
You can play around with login.css style sheet to further tweak the login page. The style sheet can be found under;
- /usr/lib/vmware-sso/vmware-sts/webapps/websso/resources/css/login.css [vCenter Appliance]
- C:\ProgramData\VMware\vCenterServer\runtime\VMwareSTSService\webapps\websso\resources\css\login.css [Windows based vCenter]
vCenter Server for Windows
The above procedure equally applies to vCenter Server for Windows, with the process being intrinsically easier to carry out. The only significant differences are paths to the images folder, login (JSP) file, and CSS.
- C:\ProgramData\VMware\vCenterServer\runtime\VMwareSTSService\webapps\websso\WEB-INF\views\unpentry.jsp
- C:\ProgramData\VMware\vCenterServer\runtime\VMwareSTSService\webapps\websso\resources\img\<your_graphic>.png
- C:\ProgramData\VMware\vCenterServer\runtime\VMwareSTSService\webapps\websso\resources\css\login.css
Just copy the logo or graphics you want included to the images folder and use something like notepad to edit unpentry.jsp applying the same changes as outlined earlier.