Recently we had to extend the disk of an Ubuntu instance on vSphere ESXi 7. The task was not that easy and involved several steps. So, I thought of sharing the steps with you. Will look at the steps in brief.
NOTE: Make sure to take a full backup of the system before attempting these steps.
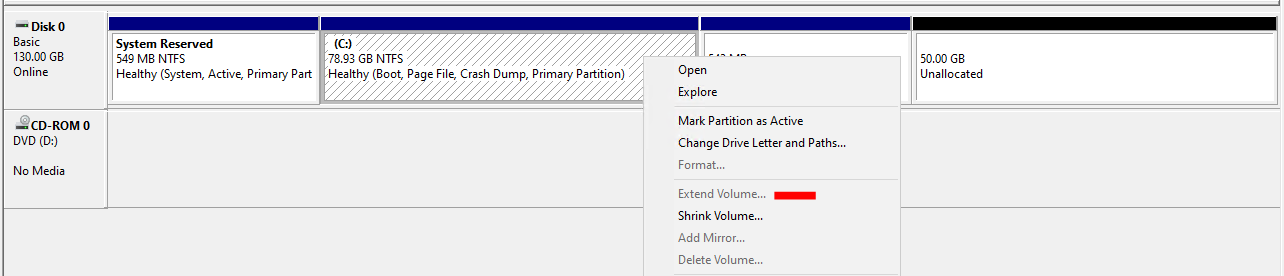
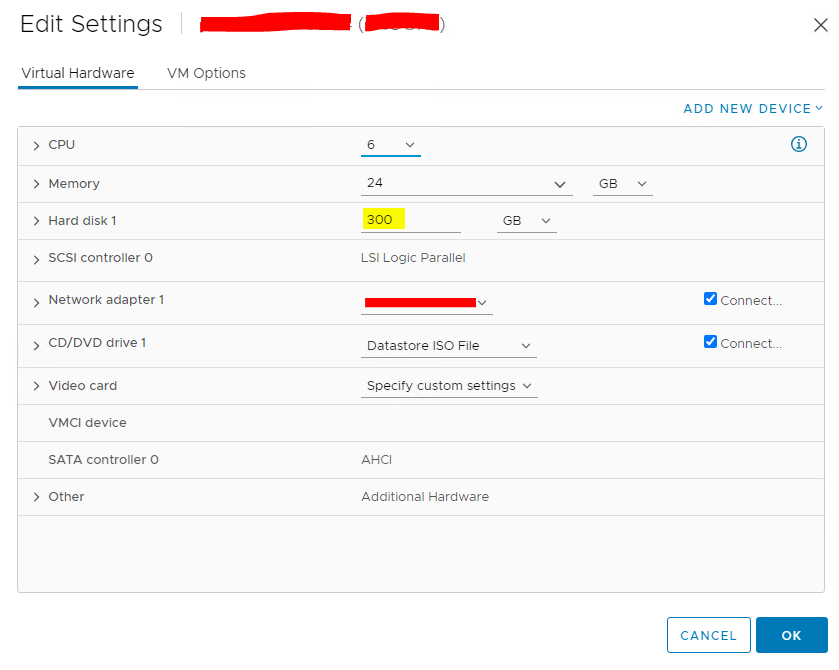
- First of all, access the VM properties and extend the disk as necessary.
- Make sure the “parted” package has been installed. You could install the package using sudo apt-get install parted
- SSH into the ESXi host and then access the relevant datastore which the VM is stored.
cd /vmfs/volumes/datastoreX/UbuntuVM
List the files using ls -l
Then, use the vmkfstools command to extend the disk. In this example, vmkfstools -X 300G UbuntuVM.vmdk (300G is the extended size and never use the flat.vmdk for his operation)
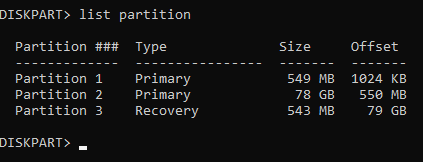
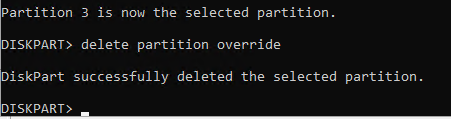
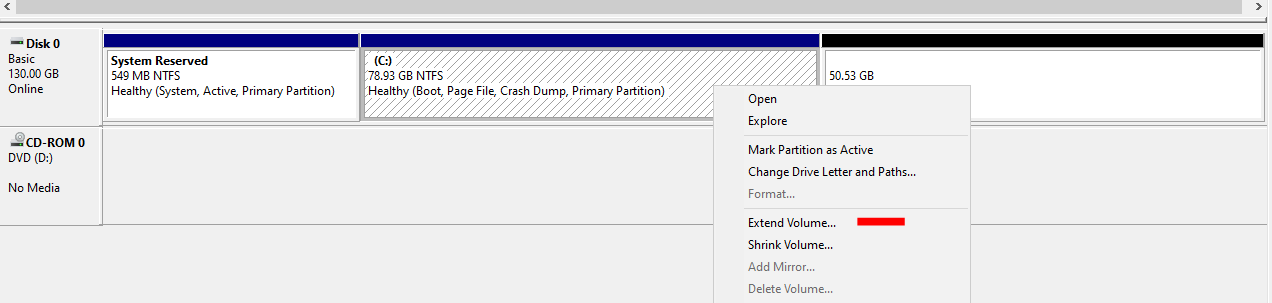
- After that login to the Ubuntu instance and extend the partition using sudo parted and then type P to print the partition table
- You will be presented with the partition numbers (pick the second partition [which is X])
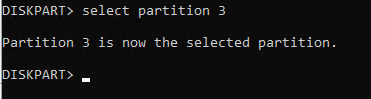
- Enter the command resizepart X to resize the partition. After that type Q to quit the partition utility.
- Finally, grow the file system using the command sudo resize2fs /dev/sdaX (X denotes the disk number)
You could verify the disk size using the command df -h