Horizon DaaS hotfix management is a very straightforward process. Those Hotfixes and updates are being applied using the HVM (Horizon Version Manager). This process consists of several steps.
- Upload hotfixes/updates to the HVM
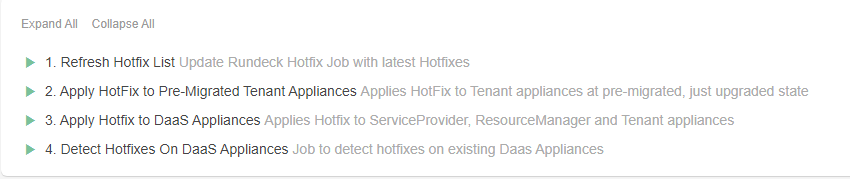
- Refresh hotfix list
- Detect hotfixes on DaaS appliances
- Apply hotfix on DaaS appliances
- Verifying the hotfixes on DaaS appliances
In our example, we will look at DaaS 9.1.x version (21.1.0). Will look at the entire process in 5 sub-steps.
Upload hotfixes/updates to the HVM
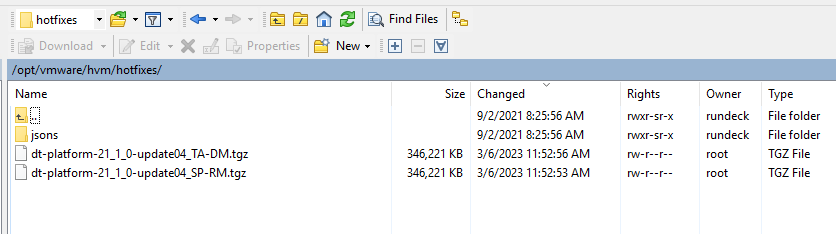
First, download WinSCP and the DaaS hotfixes/updates from VMWare downloads, and then make an SCP connection to the HVM. You need to upload those hotfixes to the /opt/vmware/hvm/hotfixes directory.
Refresh hotfix list
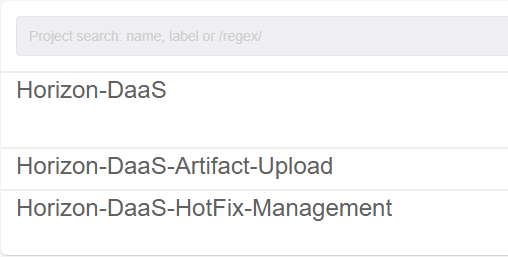
Once you are done with the hotfix upload, you need to refresh the list of hotfixes that are on the HVM. Projects > Horizon-DaaS-HotFix-Management
and then Jobs > Refresh Hotfix List and then Run Job Now
Detect hotfixes on DaaS appliances
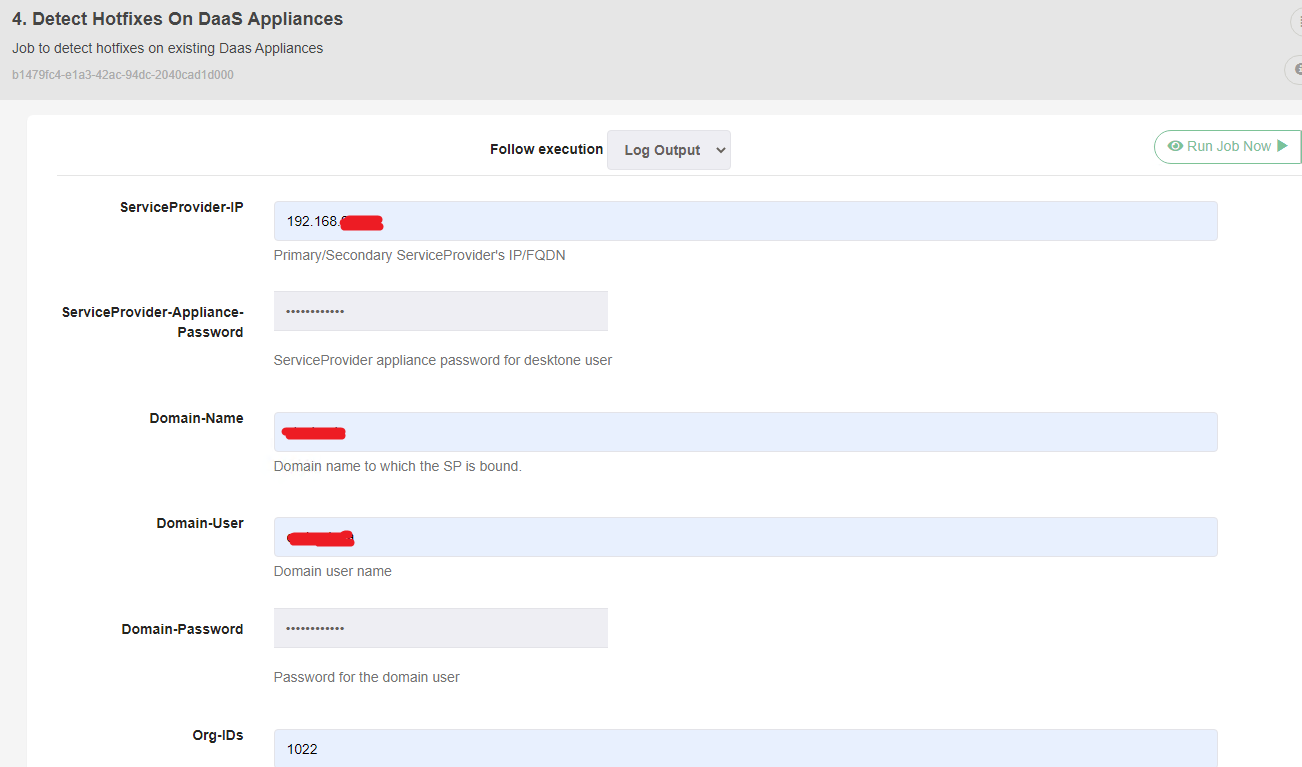
This is not mandatory. But it is always advisable to check whether the DaaS appliances are patched or not. So, you can simply access the Sub menu and select Step 4, which is Detect Hotfixes on DaaS Appliances. If the appliances are not patched, you may proceed to the next steps. If the appliances are already patched with the latest build, you may hold the patch process.
Under the Org-IDs tab, you need to enter the relevant tenant ID (keep in mind that tenant ID 1000 is reserved for the SP [Service Provider] appliances).
Continue reading “How to patch Horizon DaaS appliances from a Windows computer”